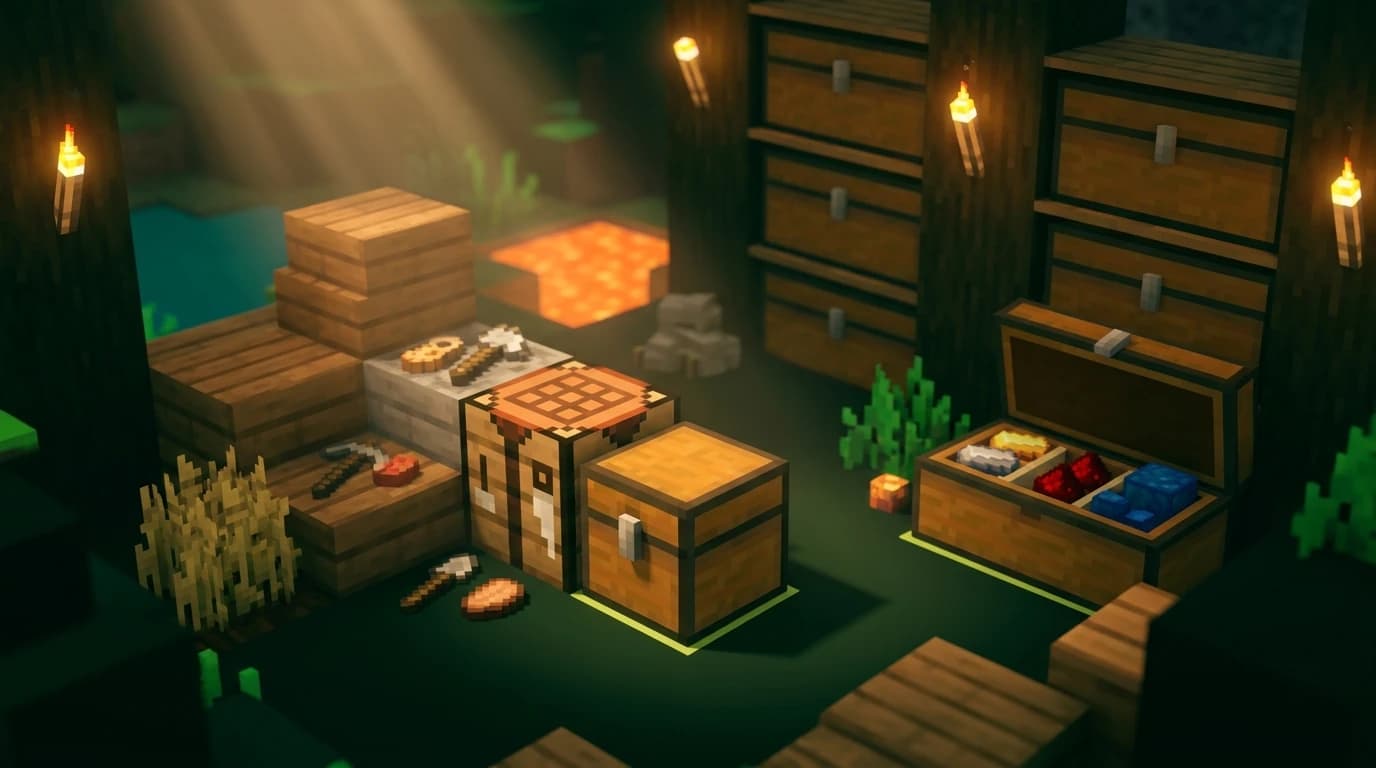
To answer how do i make a chest in minecraft: collect eight wooden planks, open a crafting table, and place the planks in every slot of the 3×3 grid except the center. Take the chest from the output slot, place it in your world, and open it to store up to 27 item stacks.
How do i make a chest in minecraft
A chest is one of the first storage blocks you should craft. It protects your items from being scattered when you die and gives you a place to empty your inventory before mining, exploring, or building.
What you need
- Eight wooden planks
- One crafting table
You can use planks made from oak, spruce, birch, jungle, acacia, dark oak, mangrove, cherry, bamboo, or crimson and warped stems. The chest recipe accepts wooden plank types, including mixed planks.
How to get wooden planks
- Find any tree or a source of wood.
- Break one or more logs with your hand or an axe.
- Open your inventory or crafting table.
- Place a log in the crafting area and collect the four wooden planks it creates.
Two logs provide eight planks, which is exactly enough for one chest.
Chest recipe and crafting-grid layout
| Ingredient | Quantity | Result |
|---|---|---|
| Any wooden planks | 8 | 1 chest |
Open a crafting table to use its 3×3 grid. Place three planks across the top row, two planks on the left and right sides of the middle row, and three planks across the bottom row. Leave the center slot empty. The result is one chest.
The recipe looks like this in words:
- Top row: plank, plank, plank
- Middle row: plank, empty, plank
- Bottom row: plank, plank, plank
Take the chest from the output slot and move it into your inventory or hotbar. Because the recipe uses the full 3×3 grid, you need a crafting table rather than the small 2×2 crafting area in your inventory.
How to place and use a chest
Select the chest in your hotbar and use it on a solid surface. On PC, this normally means right-clicking. On a controller, use the button assigned to place or interact with blocks.
- Choose a clear location near your base, mine entrance, or farm.
- Place the chest on the ground.
- Use the chest to open its storage screen.
- Move items between your inventory and the chest.
A single chest has 27 inventory slots. Most stackable items fill one slot per stack, so a full chest can hold 27 stacks. If you break the chest, its stored items drop onto the ground along with the chest itself, so empty it before moving it if you are working over lava, water, or a dangerous area.
How to make a double chest
Place two normal chests directly beside each other. They join into one large chest with 54 slots. The two halves must have matching placement space, and another block cannot prevent them from connecting.
If you want two separate chests side by side, crouch or sneak while placing the second chest. This prevents the chests from combining and is useful when you want separate labels or categories.
Chest versus chest plate
A chest and a chestplate are different Minecraft items. A chest is a storage block made with eight wooden planks. A chestplate is armor worn in the body slot and is crafted with seven matching ingots, diamonds, or other armor material, depending on the type.
If you searched for how to make a chest plate in Minecraft, use the armor recipe instead. Place three material pieces across the top row, two down the left side, one down the right side, and one in the center of the bottom row. Leave the bottom-left and bottom-right slots empty. A leather, iron, gold, diamond, or netherite chestplate protects your body, while a wooden chest stores items.
How to find chests in Minecraft
You can craft storage chests whenever you have wood, but naturally generated chests appear throughout the world. Search structures and locations that commonly contain loot, including:
- Villages
- Shipwrecks
- Ocean ruins
- Desert pyramids
- Jungle temples
- Strongholds
- Dungeons
- Mineshafts
- Woodland mansions
- Bastion remnants
- Nether fortresses
- End cities
- Ancient cities
- Trial chambers
Generated chest contents depend on the structure. A shipwreck may provide food, iron, paper, or maps, while a dungeon can contain supplies such as buckets, bread, music discs, or enchanted items. Open a chest before breaking it if you want its loot, because destroying it spills the contents into the world.
How to find buried treasure chests
Buried treasure is a special chest hidden mainly beneath beaches and sometimes beneath the ocean floor. The most reliable way to find one is to locate a buried treasure map in a shipwreck or ocean ruin, then travel to the red X on the map.
- Find a shipwreck or ocean ruin.
- Search its generated chests for a buried treasure map.
- Hold the map and travel toward the marked X.
- Stand near the center of the X and dig through sand, gravel, dirt, sandstone, or other terrain.
- Expand the search several blocks in each direction if the chest is not immediately visible.
There is no universal depth for every treasure chest. The chest follows the surrounding terrain, so it can be close to the beach surface, under several blocks of sand or gravel, or beneath the ocean floor. Terrain generation can also cover it with stone or other natural blocks. Do not stop searching just because you reach stone.
Buried treasure always contains a heart of the sea, along with other possible loot such as diamonds, gold, iron, emeralds, prismarine crystals, and food. Bring a shovel, blocks for breathing spaces, and enough supplies to dig safely near water.
Java and Bedrock buried treasure differences
The chest recipe and normal storage behavior are the same in Java Edition and Bedrock Edition. Buried treasure generation has a technical difference: the chest uses a different fixed horizontal position inside its chunk. Java Edition uses chunk coordinates 9, 9, while Bedrock Edition uses 8, 8.
This matters mainly if you are using chunk-coordinate methods to locate treasure. When following a map normally, stand on the X and dig around the marked area instead. The vertical depth still depends on the terrain rather than one fixed Y-level.
How to organize Minecraft chests
Organizing storage early prevents long searches later. Start with broad categories rather than making a separate chest for every item.
Use simple chest categories
- Building blocks: stone, dirt, wood, glass, and decorative blocks
- Mining: ores, raw materials, cobblestone, gravel, and deepslate
- Food and farming: crops, seeds, meat, and animal drops
- Tools and combat: pickaxes, weapons, armor, shields, and arrows
- Redstone: dust, repeaters, comparators, pistons, rails, and components
- Exploration: maps, saddles, leads, boats, rockets, and rare loot
- Temporary storage: items that still need sorting
Use one double chest for a broad category at first, then add another when it becomes crowded. Keep frequently used items near the entrance of your base and place mining materials near your mine or smelting area.
Make storage easy to identify
Place signs or item frames beside your chests to show what belongs inside. You can also put a representative item in an item frame, such as a cobblestone block for building materials or wheat for farming supplies.
Leave space above each chest. A solid block directly above a chest normally prevents it from opening, although transparent blocks, slabs, stairs placed correctly, and other chests can work in storage designs. If a chest will not open, check the ceiling and make sure a mob or tamed cat is not blocking access.
Practical chest tips for survival
- Craft several chests at once when you have spare wood. Sixteen logs make enough planks for eight chests.
- Keep one emergency chest near your base entrance for spare food, tools, blocks, and torches.
- Store valuable items in a protected room rather than leaving chests exposed outdoors.
- Use sneaking when placing adjacent chests that must remain separate.
- Do not put your only copy of rare items in a chest you plan to move.
- Use barrels when you need compact storage that can open with a block above it.
The fastest early-game setup is two logs for eight planks, one crafting table, and one chest placed beside your shelter. Add a second chest as soon as your first one starts mixing food, tools, blocks, and valuables together.