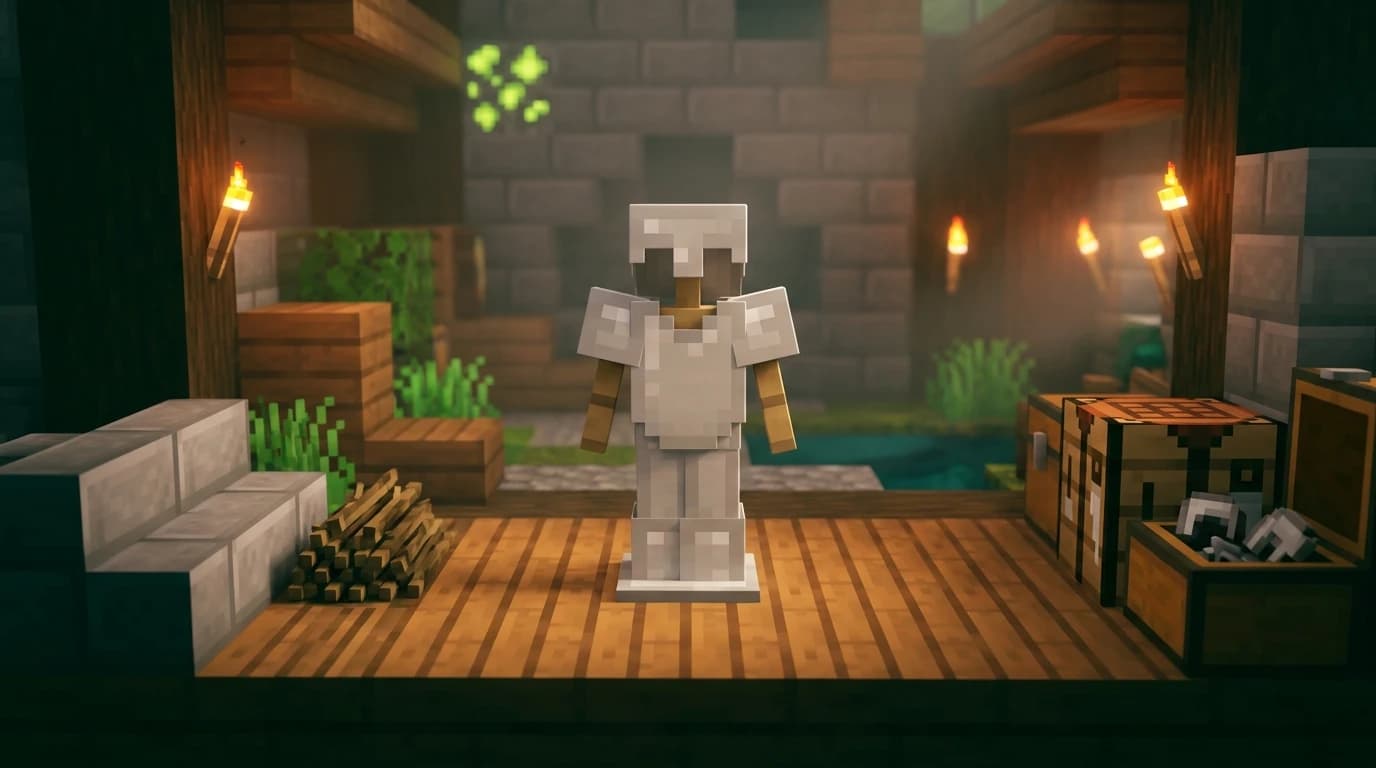
To answer how do you make a armor stand in Minecraft, use a crafting table with 6 sticks and 1 smooth stone slab. Place 3 sticks across the top row, 1 stick in the center of the middle row, then 1 stick, the slab, and 1 stick across the bottom row. Take the armor stand from the result slot.
How do you make a armor stand in Minecraft?
You need a 3×3 crafting grid, six sticks, and one smooth stone slab. The recipe works in vanilla Minecraft on PC, console, and both Java Edition and Bedrock Edition.
- 6 sticks
- 1 smooth stone slab
- 1 crafting table
The smooth stone slab is the important part. A regular stone slab does not work in the recipe.
Armor stand recipe and crafting-grid layout
| Ingredient | Quantity | Purpose |
|---|---|---|
| Stick | 6 | Forms the stand's frame |
| Smooth stone slab | 1 | Forms the stand's base |
Use this exact pattern in the crafting table:
- Top row: 3 sticks across all three slots.
- Middle row: 1 stick in the center slot, with the left and right slots empty.
- Bottom row: 1 stick on the left, 1 smooth stone slab in the center, and 1 stick on the right.
When the pattern is correct, one armor stand appears in the output slot. Move it into your inventory, then place it on a solid block like any other placeable object.
How to get sticks and a smooth stone slab
Make the sticks
Put two wooden planks vertically in a crafting grid to make four sticks. Any regular wood type works, so oak, spruce, birch, jungle, acacia, dark oak, mangrove, cherry, and bamboo wood can all provide sticks.
You need six sticks for one armor stand. Since two planks produce four sticks, use four planks to make eight sticks and keep the extras for tools or torches.
Make the smooth stone slab
- Mine cobblestone and smelt it in a furnace to make stone.
- Smelt the stone again to make smooth stone.
- Place three smooth stone blocks across a crafting-table row.
- Collect the six smooth stone slabs from the result slot.
You only need one smooth stone slab for the armor stand, but the slab recipe gives you six. If you already have smooth stone, you can also use a stonecutter to turn it into smooth stone slabs.
How to craft an armor stand step by step
- Collect at least four wooden planks and enough cobblestone to produce smooth stone.
- Craft six sticks from the planks.
- Smelt cobblestone into stone, then smelt the stone into smooth stone.
- Craft three smooth stone blocks into smooth stone slabs.
- Open a crafting table.
- Place the six sticks and one smooth stone slab in the exact armor stand pattern.
- Take the armor stand from the output slot.
- Place it where you want your armor display, then equip armor by using the interact button on the stand while holding a helmet, chestplate, leggings, boots, or another compatible item.
An armor stand can display a complete armor set, a carved pumpkin, some mob heads, and an elytra. It is useful for organizing spare equipment or decorating an armory, entrance hall, bedroom, or storage room.
How to make armor in Minecraft
An armor stand does not create armor. You craft armor separately, then place the finished pieces on the stand or equip them on your character. Standard armor uses one material for the entire recipe: leather, iron ingots, gold ingots, or diamonds.
| Armor piece | Material needed | Grid layout |
|---|---|---|
| Helmet | 5 leather, iron ingots, gold ingots, or diamonds | Three across the top, one on the middle-left, and one on the middle-right |
| Chestplate | 8 leather, iron ingots, gold ingots, or diamonds | Three across the top, three across the middle, one on the bottom-left, and one on the bottom-right |
| Leggings | 7 leather, iron ingots, gold ingots, or diamonds | Three across the top, one on the middle-left, one on the middle-right, one on the bottom-left, and one on the bottom-right |
| Boots | 4 leather, iron ingots, gold ingots, or diamonds | One on the middle-left, one on the middle-right, one on the bottom-left, and one on the bottom-right |
Leather armor is the easiest set to make early in a world. Iron armor offers a stronger upgrade once you mine enough iron. Diamond armor provides much better protection but requires diamonds from deep underground or other loot sources.
To craft a full set, you need 24 units of the chosen material: 5 for the helmet, 8 for the chestplate, 7 for the leggings, and 4 for the boots. Netherite armor is not crafted directly from netherite ingots. Upgrade each diamond armor piece at a smithing table using a Netherite Upgrade Smithing Template and one netherite ingot.
How to make chainmail armor
You cannot craft chainmail armor in current vanilla Minecraft. The old fire-based chainmail recipes are no longer available, and chains do not work as a substitute for chainmail armor.
To obtain chainmail armor, use one of these methods:
- Trade with an armorer villager after leveling up its profession.
- Find chainmail pieces in generated loot or obtain them from armored mobs.
- Receive chainmail through certain villager-related rewards, depending on the edition and game situation.
The most reliable renewable method is an armorer villager. Place a blast furnace near an unemployed villager to give it the armorer profession, then trade with it to unlock additional offers. The exact pieces and prices can vary, so you may need more than one armorer to collect a complete set.
How to make an armor villager
You do not craft an armor villager directly. You create an armorer by giving an unemployed villager access to an unclaimed blast furnace.
- Find or produce an unemployed villager.
- Craft and place a blast furnace near it.
- Wait for the villager to claim the workstation and become an armorer.
- Trade with the armorer to increase its profession level and unlock armor offers.
A blast furnace requires 5 iron ingots, 1 furnace, and 3 smooth stone. If the villager does not change profession, check that it is not a nitwit, another villager has not claimed the blast furnace, and you have not already traded with that villager. Breaking and replacing the blast furnace can help you reset an untraded villager's job site.
How to use an armor stand
Place the stand on the ground, then use the interact button while holding armor. On a keyboard and mouse, right-click the stand. On a controller, use the normal interaction button. Empty-hand interaction can remove equipment from the stand.
In Bedrock Edition, crouch and interact with an armor stand to cycle through its available poses. Bedrock also lets you interact with the stand in ways that make it useful for more expressive displays. In unmodified Java Edition, armor stands have fewer built-in display controls; advanced poses, arms, invisible stands, and other customizations usually require commands or external modifications.
Armor stands can be damaged and broken, causing the stand and its displayed equipment to drop. Keep decorative stands away from accidental attacks, explosions, and hostile-mob paths.
Common armor stand crafting mistakes
- Using a stone slab: The recipe requires a smooth stone slab, not an ordinary stone slab.
- Using the wrong pattern: The bottom row must contain a stick, the slab, and a stick.
- Trying a 2×2 inventory grid: You need a crafting table because the recipe uses all three rows of a 3×3 grid.
- Looking for a chainmail recipe: Chainmail cannot be crafted in current vanilla Minecraft.
- Expecting the stand to make armor: Craft or obtain the armor first, then place it on the stand.
If you only need a quick display, check an armorer's house in a taiga village because armor stands can generate there. For a survival base, crafting your own is usually faster once you have six sticks and one smooth stone slab.