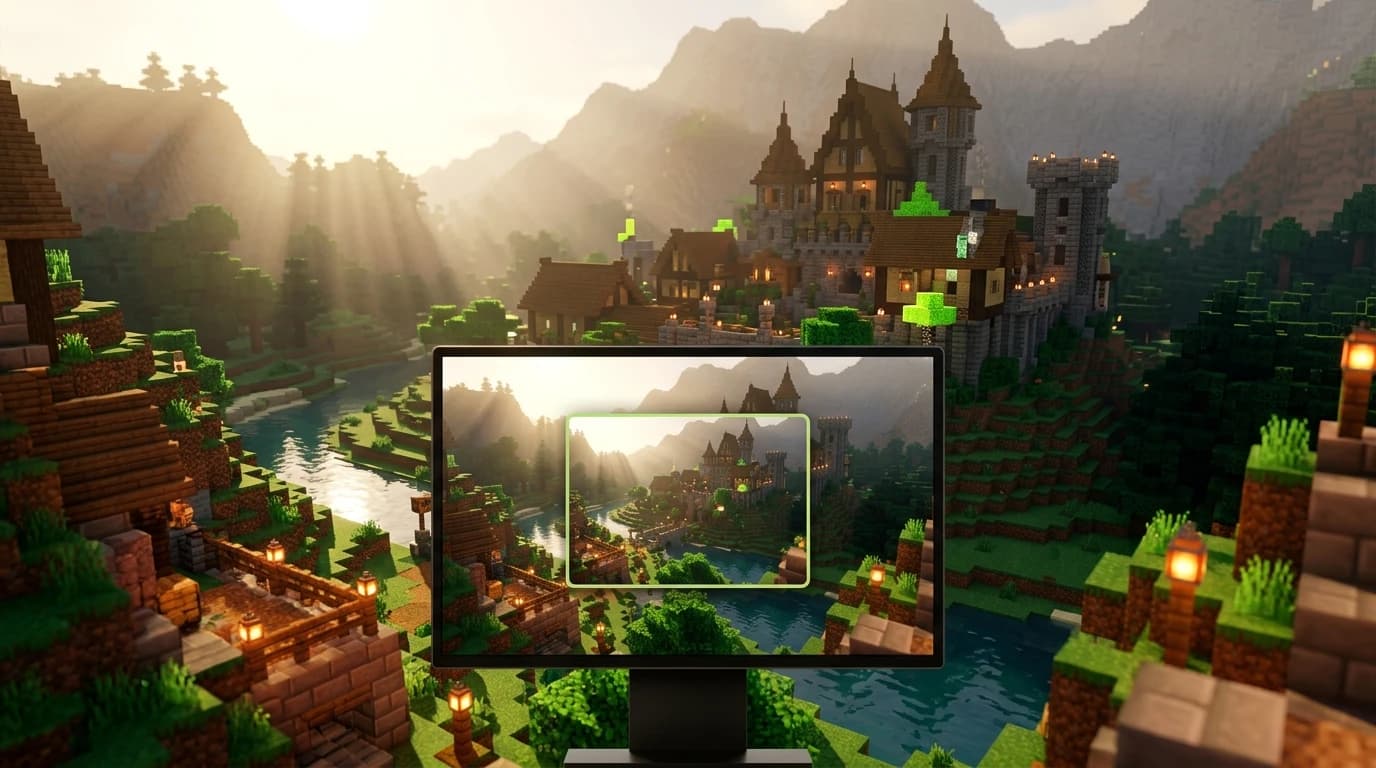
To learn how to install a minecraft shader, use Minecraft Java Edition with Iris or OptiFine, download a compatible shader pack as a ZIP file, place it in the shaderpacks folder, then enable it under Options, Video Settings, and Shaders. Bedrock uses resource packs or supported visual features instead.
Check your edition and prepare Minecraft
Traditional shader packs are designed for Minecraft: Java Edition on PC. They are not installed the same way on console, mobile, Chromebook Bedrock, or Windows Bedrock. Before downloading anything, check which edition and Minecraft version you use.
- Java Edition: Use Iris or OptiFine to load shader packs.
- Bedrock Edition: Use compatible resource packs, Marketplace content, or supported visual settings.
- Console: You generally cannot add Java shader ZIP files manually. Use content available through the game or platform-supported options.
- Chromebook: Java shaders require a Chromebook that can run Java Edition through a supported Linux setup. Bedrock-compatible Chromebook installs use the Bedrock resource-pack method instead.
Launch the game once before installing anything. This creates the normal game folders and lets you confirm that Minecraft starts correctly. Also make a backup of important worlds before adding mods or changing a modded profile.
Choose Iris or OptiFine
A shader pack needs a shader loader. The two common choices are Iris and OptiFine, but they work differently.
Iris
Iris is the usual choice for a new Java shader installation. Its installer can create a profile with Iris and Sodium, giving you shader support while also providing useful performance improvements. Iris is compatible with many shader packs originally made for OptiFine, although individual packs can still have compatibility limits.
OptiFine
OptiFine includes its own shader menu and can also provide performance, graphics, and customization settings. It is useful when a shader pack or mod setup specifically requires OptiFine. The Minecraft version, OptiFine version, and shader pack should be compatible with one another.
Do not install Iris and OptiFine together in the same profile unless a specific mod setup confirms that combination works. For most players, install one loader, test it, and add other mods only after the shader profile launches successfully.
Install Iris for Minecraft shaders
Iris is the simplest modern route if your goal is only to use shaders and improve visual performance.
- Download the Iris installer from the project’s official download page.
- Run the installer. If your computer asks which program should open a JAR file, install a compatible Java runtime for your Minecraft setup.
- Choose the Minecraft version you want to use.
- Leave the option to install Iris and its performance component enabled unless you are setting up a custom mod profile.
- Complete the installation and open the official Minecraft Launcher.
- Select the new Iris profile or installation, then launch it once.
- Open a world and go to Options, Video Settings, then Shader Packs or Shaders.
The exact menu wording can change between Minecraft versions and mod-loader setups. The important test is that a shader button appears in the video settings. If it does not, you launched the normal vanilla profile instead of the Iris profile, or the installation did not complete correctly.
Install OptiFine if you prefer its shader loader
OptiFine is another way to install Minecraft shaders, especially when you already use an OptiFine profile or a pack that documents OptiFine support.
- Download the OptiFine installer that matches your Minecraft version.
- Run the downloaded JAR file and choose Install.
- Open the Minecraft Launcher and select the OptiFine installation.
- Launch the profile once, then open a world.
- Go to Options, Video Settings, and Shaders.
- Use the Shaders Folder button to open the correct folder automatically.
If the installer does not open, the usual cause is that Java is missing or the file association is incorrect. Avoid renaming the installer or opening a random JAR file from an unofficial download. The installed profile should use the same Minecraft version you selected when downloading OptiFine.
Choose and enable a shader pack
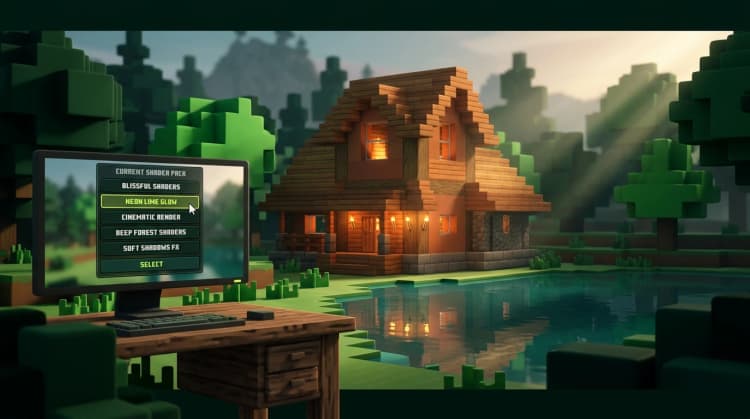
Shader packs are normally downloaded as .zip files. Keep the ZIP compressed. Do not extract it unless the pack’s own instructions specifically require a different format.
- Choose a shader pack that supports your Minecraft version and loader.
- Download the shader pack ZIP file.
- Start Minecraft with Iris or OptiFine.
- Open the shader menu from the video settings.
- Click Open Shader Pack Folder, Shaders Folder, or the equivalent button.
- Move the downloaded ZIP file into that folder.
- Return to Minecraft and select the pack from the list.
- Confirm the change and wait for the world to reload.
On Windows, the folder is commonly located at %appdata%\.minecraft\shaderpacks. If you use a custom launcher or a separate mod instance, its folder may be different. Opening the folder from the in-game shader menu is safer than guessing the location.
If the pack does not appear, check that you placed the ZIP in shaderpacks, not resourcepacks or mods. Also check that the downloaded file is the actual shader pack and not a ZIP containing another ZIP. Some launchers let you install supported packs directly from their shader browser.
Install shaders on Bedrock and Chromebook
Bedrock Edition does not use Java’s Iris or OptiFine shader installation process. You cannot normally copy a Java shader pack into Bedrock and expect it to work.
Bedrock resource packs
Bedrock visual packs are usually imported as a supported resource-pack file or activated through the Marketplace. After importing a compatible pack, open the world’s settings, choose Resource Packs, activate the pack, and move it above other packs if it needs priority.
Older packs described as “shaders” may not work on current Bedrock rendering systems. Look for packs that explicitly support your Bedrock version and current rendering features. A pack that changes textures is not necessarily a shader pack, and a Java shader ZIP is not a Bedrock resource pack.
Chromebook installation
First determine whether your Chromebook is running Java Edition through Linux or Bedrock Edition through an Android-compatible installation. For Java, follow the Iris or OptiFine method and use the game directory belonging to that Linux installation. For Bedrock, use the resource-pack method available to that edition.
Chromebooks often have limited graphics performance. Start with a lightweight shader, reduce render distance, and close other applications before testing. If the game runs through a Linux container, the available graphics acceleration can also affect whether shaders launch successfully.
Install Minecraft mods, modpacks, skins, and maps
Several searches about installing Minecraft mods are closely related to shaders, but these files do not all go in the same folder.
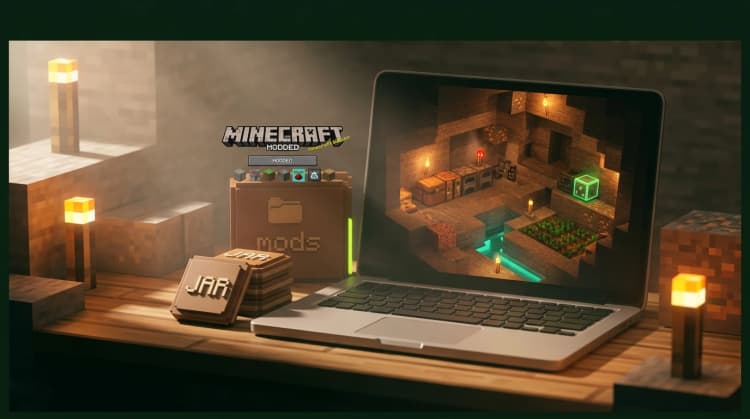
- Mods: Use a compatible loader such as Fabric, Forge, or NeoForge, then place matching mod JAR files in that instance’s mods folder.
- Modpacks: Install them through a launcher that supports the pack, or import the pack file into that launcher. Do not place a complete modpack ZIP in the shader folder.
- Shader packs: Keep the shader ZIP in shaderpacks and enable it from the video settings.
- Skins: Change them through the Minecraft launcher or the in-game dressing-room or profile controls. Skins are not mods and do not belong in mods.
- Maps: Java world folders go in saves. Bedrock worlds use an importable world file or the edition’s world-management tools.
When adding shaders to a modpack, install the shader loader into the same instance as the pack. A shader installed in your normal Minecraft profile will not automatically appear inside a separate launcher instance.
Fix crashes, black screens, and low FPS
Most shader problems come from a version mismatch, unsupported graphics features, or settings that are too demanding for the computer.
- The shader menu is missing: Launch the Iris or OptiFine profile instead of vanilla Minecraft.
- The pack is not listed: Keep it as a ZIP and place it in the instance’s shaderpacks folder.
- Minecraft crashes: Remove the shader, test the game without it, and try a pack made for your Minecraft version.
- The screen is black: Update your graphics driver, switch shader packs, and disable demanding effects such as volumetric lighting or reflections.
- FPS drops: Lower render distance, simulation distance, shadow quality, and shader resolution. Choose a Lite or Low preset when available.
- Textures look wrong: Check whether the pack requires a resource pack, a specific loader, or a compatible graphics setting.
Change one setting at a time so you know which option affects performance. If a world becomes unstable after a shader change, close Minecraft, remove the active shader ZIP from the folder, and launch the profile again without shaders.