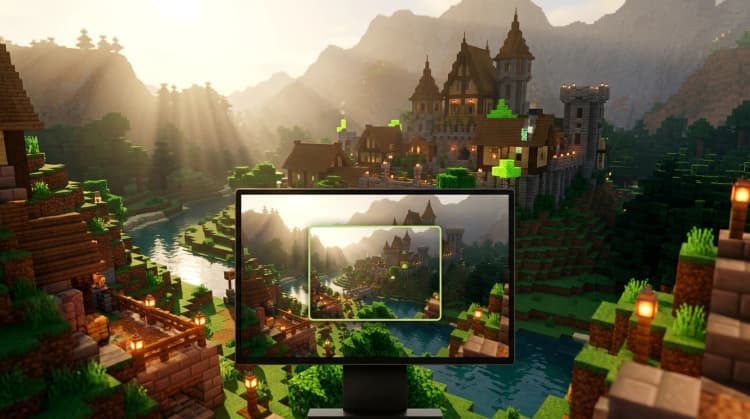
To learn how to get shaders for minecraft, use Iris on Java Edition: install Iris with Fabric, download a compatible shader pack as a ZIP file, place it in the .minecraft/shaderpacks folder, then select it under Options > Video Settings > Shader Packs. On Bedrock, enable the built-in Vibrant Visuals mode on a compatible device instead. ([irisshaders.org](https://irisshaders.org/))
What are shaders in Minecraft?
Shaders are visual programs that change how Minecraft draws lighting, shadows, water, clouds, fog, reflections, colors, and other effects. A shader pack can make sunlight cast softer shadows, water look reflective, and caves appear more atmospheric without changing blocks, recipes, mobs, or survival mechanics.
Shaders are client-side graphics changes. You can use them in a single-player world or on a multiplayer server, and other players do not need the same shader pack because the effects are rendered on your own device. They can still reduce frame rate, especially when you increase shadow distance, render distance, reflections, or volumetric effects.
Java Edition and Bedrock Edition use different systems. Java players normally install a shader loader such as Iris. Bedrock players should use Vibrant Visuals or a compatible graphics-focused Marketplace pack rather than trying to copy Java shader ZIP files into the Bedrock folders.
How to get shaders for Minecraft Java Edition
The simplest modern setup for Java Edition is Iris with Fabric. Iris is a shader mod designed for Java Edition and supports major OptiFine-format shader packs, including popular packs such as BSL, Complementary, SEUS, and Sildur’s. Sodium can be installed alongside Iris to improve rendering performance. ([irisshaders.org](https://irisshaders.org/))
Install Iris
- Close Minecraft and the Minecraft Launcher.
- Download the Iris installer or the version of Iris that matches your Minecraft Java Edition version. Use the official Iris download or a well-known mod platform, and avoid installers bundled with unrelated software.
- Run the installer and select the Minecraft version you want to play.
- Choose the Fabric installation. If the installer offers Sodium, include it for a performance-focused setup.
- Finish the installation and open the Minecraft Launcher.
- Select the new Iris and Fabric profile before pressing Play.
Iris must match your Minecraft version. A shader pack may support several game versions, but the loader, Fabric installation, and other rendering mods still need compatible versions. Iris requires Fabric and is not a Bedrock mod. ([irisshaders.org](https://irisshaders.org/))
Download and install a Java shader pack
After Iris launches successfully, download a shader pack that supports your Minecraft version. Shader packs usually arrive as a .zip file. Do not extract the ZIP unless the pack’s own instructions specifically require it.
Put the shader pack in the correct folder
- Launch Minecraft with the Iris profile.
- From the main menu, open Options, then Video Settings.
- Select Shader Packs.
- Click Open Shader Pack Folder. This opens the correct folder automatically.
- Move or copy the downloaded shader pack ZIP into that folder.
- Return to Minecraft and select the pack from the list.
- Click Apply or close the menu, then load a world to test the result.
If you need to find the folder manually on Windows, press Win + R, enter %appdata%\.minecraft, and open the shaderpacks folder. On macOS, the Minecraft folder is usually inside ~/Library/Application Support/minecraft. On Linux, it is usually ~/.minecraft.
The shader ZIP belongs in shaderpacks, not mods. The Iris or Fabric JAR files belong in mods. Keeping those locations separate prevents one of the most common installation errors. ([irisshaders.org](https://irisshaders.org/))
How to put shaders on Minecraft Java
Once the shader pack is in the correct folder, applying it takes only a few clicks:
- Start Minecraft using the Iris profile.
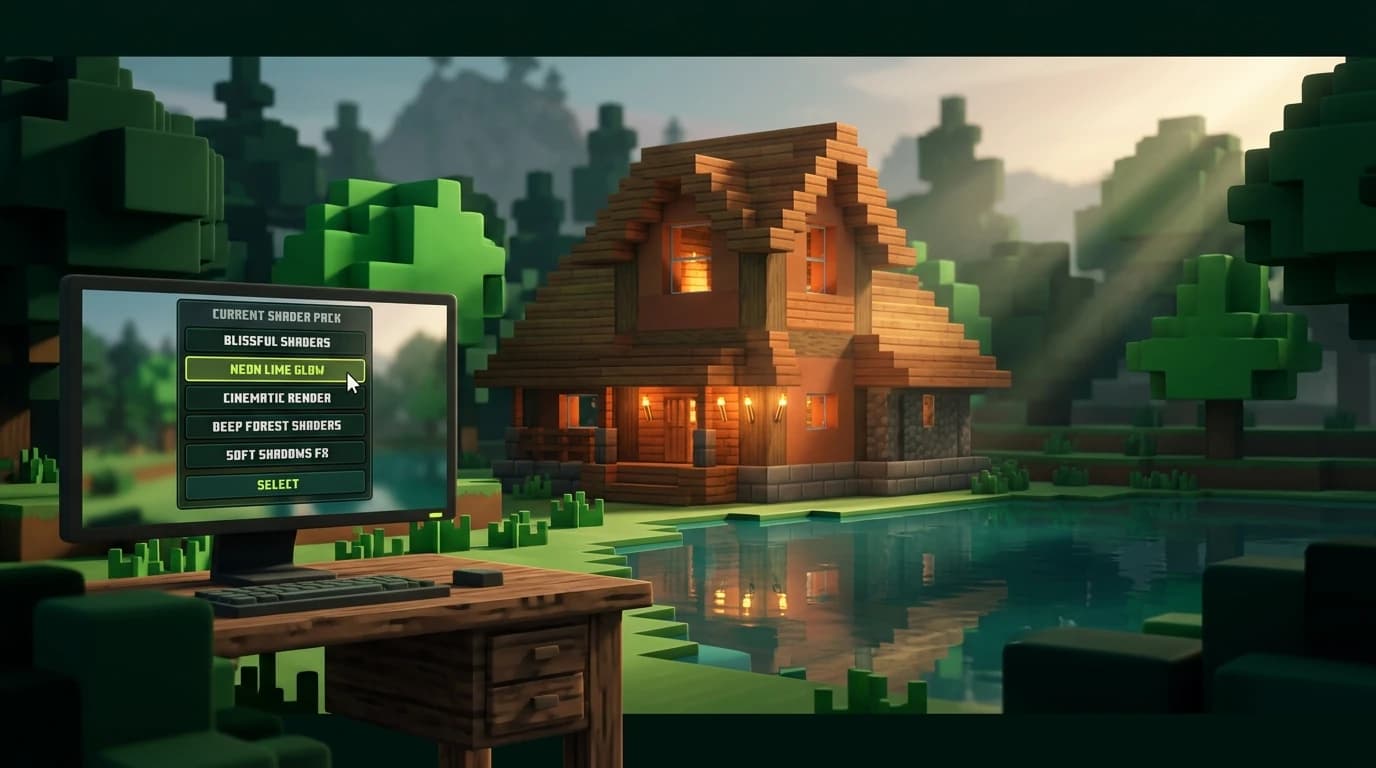
- Open Options > Video Settings > Shader Packs.
- Click the shader pack name you want to use.
- Confirm any warning about performance or compatibility.
- Wait for the world to reload, then check water, shadows, clouds, and lighting.
To change shaders later, return to the same Shader Packs menu and select another installed pack. You do not need to reinstall Iris each time. To turn shaders off, choose the disabled or none option in the shader list. Your shader files remain installed for later use.
You can also adjust the active pack’s settings from the shader menu. Lower shadow resolution, shadow distance, screen-space reflections, ambient occlusion, clouds, and volumetric lighting first if performance drops.
How to get shaders in Minecraft Bedrock
Bedrock Edition does not use the same Iris and Java shader-pack process. Instead, compatible devices can use Minecraft’s official Vibrant Visuals graphics mode, which adds effects such as reflective water, volumetric lighting, enhanced textures, and dynamic-looking shadows. It is a cosmetic graphics feature and does not change gameplay mechanics. ([minecraft.net](https://www.minecraft.net/en-us/vibrant-visuals-update?tabs=%7B%22tab-b-5a84571c05%22%3A0%7D))
Turn on Vibrant Visuals
- Update Minecraft Bedrock Edition to the latest available version for your device.
- Launch Minecraft and open Settings.
- Select the Video tab.
- Open the Graphics Mode drop-down menu.
- Select Vibrant Visuals.
- Choose Favor Visuals or Favor Performance, then adjust the additional visual settings if needed.
Vibrant Visuals is available on compatible Bedrock devices, including Windows PCs running Minecraft with DirectX 12, Xbox consoles, PlayStation consoles, and supported Android and iOS devices. Hardware requirements differ by platform. If the option is missing or unavailable, your device, graphics API, or current game version may not support it. ([minecraft.net](https://www.minecraft.net/en-us/vibrant-visuals-update?tabs=%7B%22tab-b-5a84571c05%22%3A0%7D))
Bedrock Marketplace content can also be labeled for Vibrant Visuals. These packs are made for the newer graphics pipeline and are different from Java shader ZIP files. Downloading a Java shader pack will not make it appear in Bedrock’s graphics settings.
Choosing the best shaders for Minecraft
The best shader pack depends on your hardware and the look you want. Start with a pack that supports your exact Minecraft version, then compare visual quality with frame rate.
- Lightweight or vanilla-style packs: Choose these for modest laptops, integrated graphics, or a familiar Minecraft appearance.
- Balanced packs: These add improved shadows, water, clouds, and color while keeping performance manageable on many gaming PCs.
- High-end realistic packs: These may include detailed reflections, volumetric fog, depth of field, and advanced lighting, but they require more GPU power.
- Builder-focused packs: Look for clear colors, reliable shadows, and settings that help you judge block palettes and exterior lighting.
- Survival-focused packs: Prefer readable caves, bright interfaces, and stable performance over cinematic effects.
Popular Java options include BSL, Complementary, SEUS, and Sildur’s, but popularity does not guarantee that a pack is the best choice for your computer. Test a pack in a demanding area such as a forest, village, ocean, or large base rather than judging it only from the main menu. Iris is compatible with major OptiFine-style shader packs, although each pack still has its own version and hardware requirements. ([irisshaders.org](https://irisshaders.org/))
How to update shaders in Minecraft
Updating a shader pack is usually separate from updating Iris. Check the shader creator’s download page for a version that supports your Minecraft release, then replace the old ZIP in the shaderpacks folder.
- Download the newer shader pack ZIP.
- Close Minecraft if it is running.
- Remove the old version from .minecraft/shaderpacks, or move it to a backup folder.
- Place the new ZIP in shaderpacks.
- Launch Minecraft with Iris and select the updated pack.
Update Iris when you update Minecraft or when a shader pack requires a newer loader. Back up your settings if you have heavily customized a pack, because some shader updates rename or remove options. Never install a shader pack designed for a different rendering system simply because its name looks similar.
Fix shader installation and performance problems
The shader pack does not appear
- Confirm that the file is in the shaderpacks folder.
- Keep the shader as a ZIP file unless its instructions say otherwise.
- Check that you launched the Iris profile, not an unmodified vanilla profile.
- Make sure the file is not a ZIP inside another ZIP folder.
- Verify that the pack supports your Minecraft version.
Minecraft crashes or shows a black screen
Disable the shader and test Minecraft again. Then update your graphics driver, confirm that Iris and Fabric match the game version, and try a lighter or different shader pack. Rendering mods can conflict with one another, so temporarily remove other graphics-changing mods if the problem continues.
Shaders make Minecraft run slowly
- Lower shader quality or preset level.
- Reduce shadow distance and shadow resolution.
- Turn off depth of field, motion blur, reflections, and volumetric effects.
- Lower render distance and simulation distance.
- Use Sodium with Iris on Java, or select Favor Performance with Vibrant Visuals on Bedrock.
Do not assume a faster shader loader makes every shader pack fast. The pack’s effects, your resolution, and your graphics hardware determine most of the performance cost. Start with conservative settings and increase them one at a time.