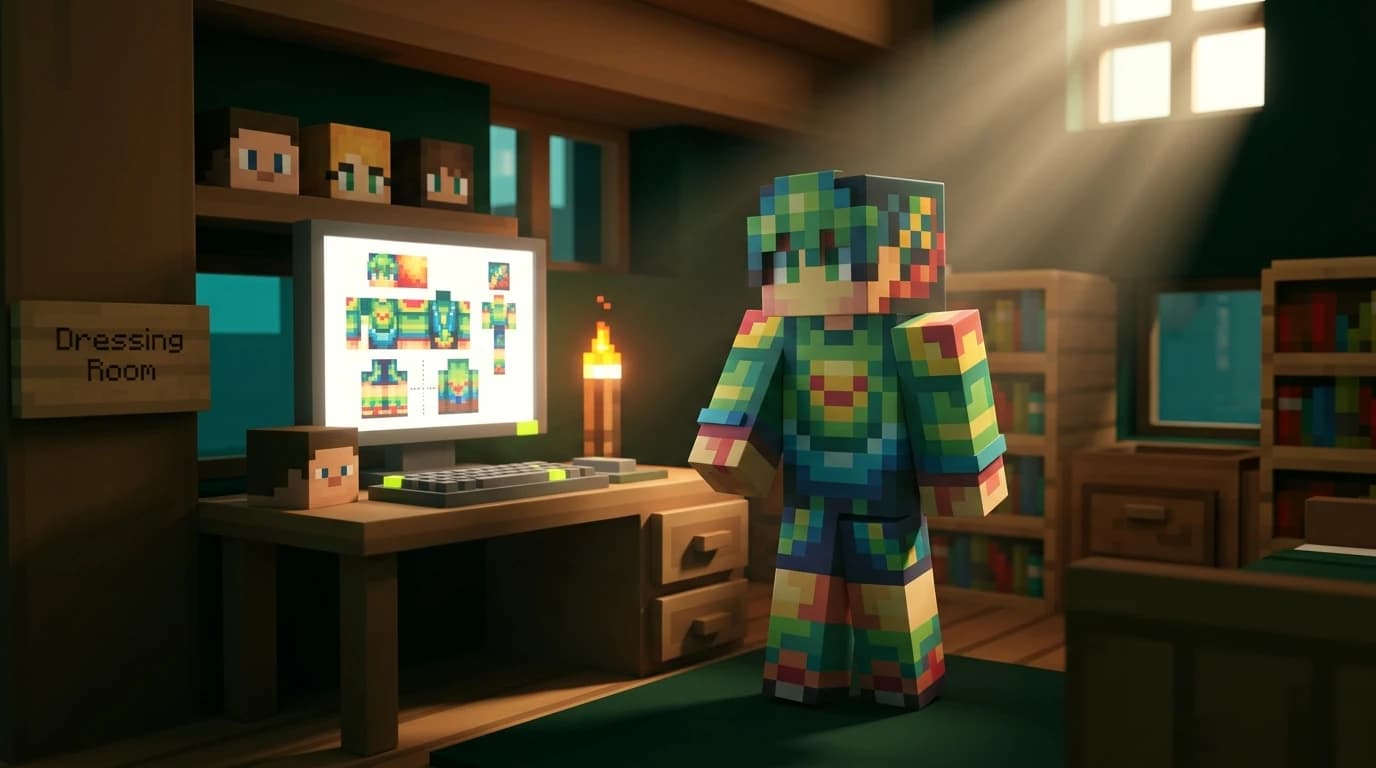
Minecraft how to make a skin starts with creating or downloading a flat PNG skin file, then uploading it through the Minecraft Launcher on Java Edition. On Bedrock Edition, use Dressing Room to customize a character or equip a Marketplace skin. Java supports direct custom PNG uploads, while Bedrock options depend on your device.
Minecraft how to make a skin from scratch
A Minecraft skin is a flat PNG texture that wraps around your player model. You can draw one yourself in an image editor, use a dedicated skin editor, or download a template and customize it. The finished file must use the correct Minecraft skin layout so the game knows which pixels belong on your head, body, arms, and legs.
Before you begin, choose the player model that matches your design:
- Classic or Wide: uses arms that are four pixels wide, like the standard Steve model.
- Slim: uses arms that are three pixels wide, like the Alex model.
For the easiest workflow, start with a standard or slim skin template. Open the template in an image editor, paint over the existing colors, and save the finished design as a PNG file. Keep the transparent areas transparent if your editor supports them. Do not save the file as a JPG, because Minecraft expects a PNG skin file.
Design a readable skin
Use strong colors and simple details on the face, sleeves, shoes, and front of the shirt. Small patterns can disappear when the character is viewed from a distance. The outer layer of a skin can add hats, hair, jackets, masks, and other details without replacing the base body texture.
Check the model preview before uploading. If the arms look too wide or parts of the face appear on the back of the head, the template and model type do not match. Minecraft’s official Java instructions provide separate Standard and Slim templates for this reason. ([help.minecraft.net](https://help.minecraft.net/hc/en-us/articles/4408894664461-Make-a-Custom-Skin-in-Minecraft-Java-Edition?utm_source=openai))
How to make a skin in Minecraft Java Edition
Java Edition lets you upload a custom skin directly from your computer. You can use a skin you created yourself or one you downloaded as a PNG file.
- Open the Minecraft Launcher and sign in to the Microsoft account you use for Java Edition.
- Select Minecraft: Java Edition in the left-side game menu.
- Open the Skins tab at the top of the Launcher.
- Select New Skin.
- Give the skin a name so you can identify it later.
- Choose Wide for a Classic model or Slim for an Alex-style model.
- Select Browse, then choose your PNG skin file.
- Select Save & Use.
Your new skin is now selected for Java Edition. Start or restart the game if your character still shows the old appearance. You can save several designs in the Skins tab and switch between them whenever you want. The Launcher also lets you add a skin to your library instead of replacing your current design permanently.
Upload a Java skin from your browser
You can also add a Java skin through your Minecraft profile. Open the skin-change page while signed in, select the Classic or Slim model, choose Select File under Upload Custom Skin, select your PNG, and then choose Upload. This is useful when you already have the file on your computer but do not want to open the Launcher first. ([help.minecraft.net](https://help.minecraft.net/hc/en-us/articles/4408894664461-Make-a-Custom-Skin-in-Minecraft-Java-Edition?utm_source=openai))
How to download skins in Minecraft
To use a skin made by someone else, download the skin as a PNG file from a source you trust. Avoid downloading executable files or programs advertised as skin installers. A normal custom skin should be an image file, not a launcher, mod, or setup package.
- Choose the skin you want to use.
- Download the PNG file to your computer or device.
- Check whether the design is Classic/Wide or Slim.
- Upload it using the Java Launcher or the supported Bedrock skin menu.
- Preview the character before saving or equipping it.
If the download arrives as a ZIP file, open it and look for the PNG inside. Do not upload the ZIP itself. If the skin file has an unusual name, that is fine; the important parts are the PNG format and the correct texture layout.
How to equip and put on a Minecraft skin
On Java Edition, open the Launcher, select Java Edition, open Skins, choose the skin you want, and select Save & Use. You can change skins before launching a world or server.
On Bedrock Edition, the process uses the Dressing Room:
- Start Minecraft: Bedrock Edition.
- Select Dressing Room from the main menu.
- Choose the character slot you want to edit, or select an empty slot.
- Select Edit Character.
- Choose Classic Skins from the left-side menu for a complete skin.
- Browse your available skins and select the one you want.
- Select Equip.
Classic skins are complete player textures. Character Creator items work differently: they let you build an outfit from separate body, style, and accessory pieces. A Classic skin cannot be customized with Character Creator items at the same time. ([help.minecraft.net](https://help.minecraft.net/hc/en-us/articles/4408902716557-How-to-Equip-Character-Creator-Items-and-Skins-in-the-Dressing-Room-in-Minecraft?utm_source=openai))
How to add skins to Minecraft Bedrock Edition
Bedrock Edition includes the Dressing Room, Character Creator, and Marketplace. The exact options depend on whether you play on Windows, a console, or a mobile device.
Use the Character Creator
For an in-game custom character, open Dressing Room, select a character slot, choose Edit Character, and use the Body and Style tabs. You can select available hairstyles, eyes, clothing, accessories, and other character items. Save your changes by backing out of the editor; the character remains in that dressing-room slot.
Use Marketplace skins
Open the Marketplace from the Bedrock main menu and browse skin packs or individual skins. Free and paid content may be available. After claiming or purchasing a pack, return to Dressing Room, select Edit Character, open Classic Skins, and equip the skin from your collection.
Bedrock supports Marketplace content across its supported platforms, but direct PNG importing is not available in the same way on every platform. Windows players may see an import option depending on the current Bedrock interface, while consoles and mobile devices generally use Dressing Room, Marketplace content, or imported packs supported by that platform. ([help.minecraft.net](https://help.minecraft.net/hc/en-us/articles/360058534412-Minecraft-Java-Edition-vs-Bedrock-Edition?utm_source=openai))
Java Edition and Bedrock Edition skin differences
Java and Bedrock both let you change how your character looks, but custom skin handling is different.
- Java Edition: you can upload a custom PNG through the Launcher or your Minecraft profile. You select either the Wide or Slim model.
- Bedrock Edition: you normally use Dressing Room, Character Creator items, Classic Skins, and Marketplace skin packs.
- Java skins: are tied to your Java profile and are commonly used on Java multiplayer servers.
- Bedrock skins: are connected to your Bedrock account and Dressing Room collection, with platform restrictions affecting custom imports.
Do not assume that a skin purchased from the Bedrock Marketplace can be downloaded as a normal Java PNG. Marketplace content and Java skin files use different systems. If you want the same visual design on both editions, you may need a separate Java PNG version and a Bedrock-compatible version.
Fix common Minecraft skin problems
The skin looks invisible or shows the wrong colors
Confirm that the file is a PNG and that it uses a Minecraft player-skin layout. Re-download the file if it is corrupted, then upload it again. A JPG, ordinary character image, or incorrectly arranged texture will not wrap around the player correctly.
The arms look wrong
Check the model selection. Use Wide for a Classic skin and Slim for an Alex-style skin. Uploading a Slim design as Wide, or the reverse, can make the arms appear incorrect.
The skin does not appear in multiplayer
Make sure you are signed in to the correct Microsoft account and that the new skin was saved before launching the game. Close and reopen Minecraft if the old skin remains visible. Some servers, client settings, or moderation systems may restrict custom appearances.
The skin works on PC but not on console
This is usually a platform limitation rather than a problem with the PNG. Console Bedrock players should use the Dressing Room and Marketplace options available in the game. On PC, use Java for direct PNG uploads or the Bedrock options shown in your current Dressing Room.
What to do after adding your skin
Test the design in first-person and third-person view. Look at the back of the head, the sides of the arms, the legs, and the outer layer. If a detail is misplaced, edit the PNG, save a new copy, and upload it again. Keeping separate files for your Classic and Slim versions makes future changes much faster.